ACDSee Pro 10正式发布了,ACDSee Pro 10的用户界面做了很大改进,启动速度更快,效率更高,该软件的用户界面提供了方便的各种工具和功能,您可以使用浏览,查看,编辑和管理您的照片和媒体文件。更兼容Win10和Win7。软件包括七种模式:管理模式、照片模式、浏览模式、开发模式、编辑模式,365模式和仪表板模式。
管理模式
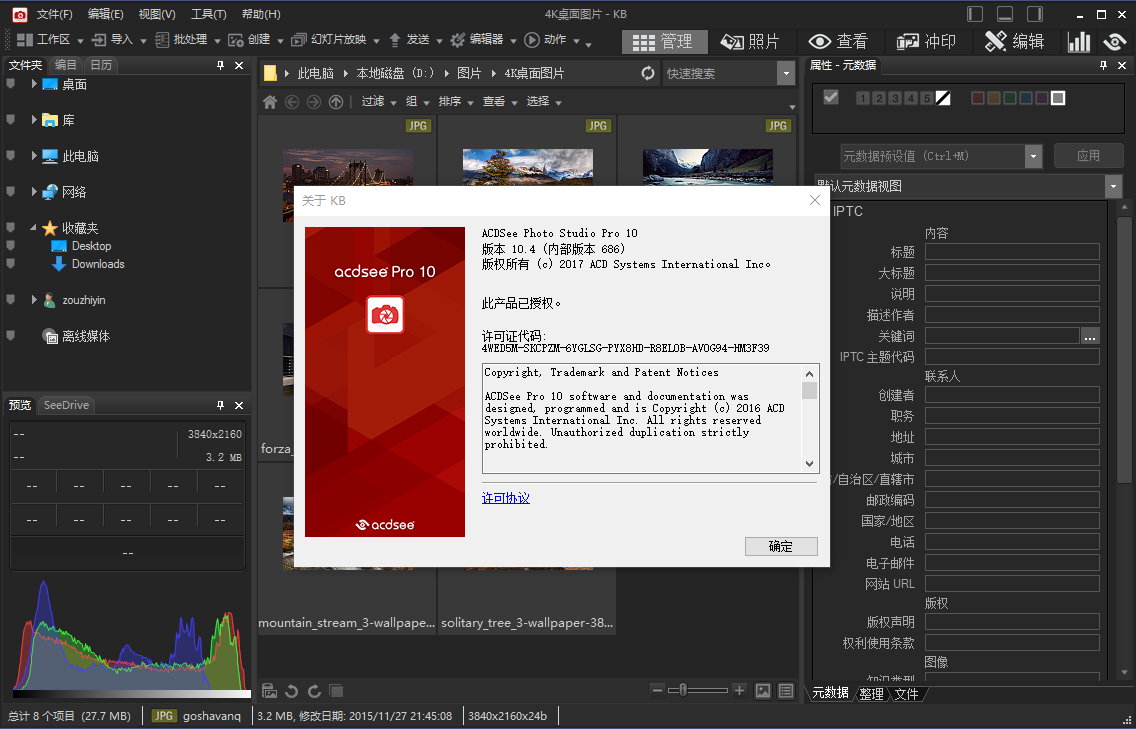
管理模式是主要的浏览和用户界面管理的组成部分,在管理模式中,您可以进行、移动、预览和排序您的文件,并访问组织和共享工具。管理模式由15个窗格,其中大部分可以在不使用时关闭。文件列表窗格总是可见的,并显示当前文件夹的内容,您的最新搜索结果,或与您的过滤标准匹配的数据库中的文件的结果。在管理模式窗口底部的状态栏显示当前选定的文件、文件夹或类别的信息。你可以打开和关闭的窗格,移动到屏幕的不同区域,和堆放在其他窗格或停靠到窗口的边缘。大多数的窗口有额外的选项,你可以来进一步自定义设置他们的行为和外观。管理模式还具有一个工具栏和一组下拉菜单。工具栏提供了您的家庭文件夹的按钮,并通过您的文件夹导航的向前和向后。下拉菜单提供快速访问最常见的任务。
照片模式
照片模式可以用来查看您的整个图像日期文件夹。你可以按年、月或天来查看他们。如果你有微软OneDrive可以切换查看您的OneDrive图像采集与硬盘上的图像采集。照片模式只显示已编目的图像。在照片模式是按图像日期和EXIF数据进行显示的。照片模式中包含两个窗格,窗格,窗格日期和时间。日期窗格显示您所有的编目照片采集日期。时间线窗格显示您的照片的年和月,以及在每个照片文件夹中有多少张照片。您还可以选择单个图像在其他模式下启动它们。
视图模式
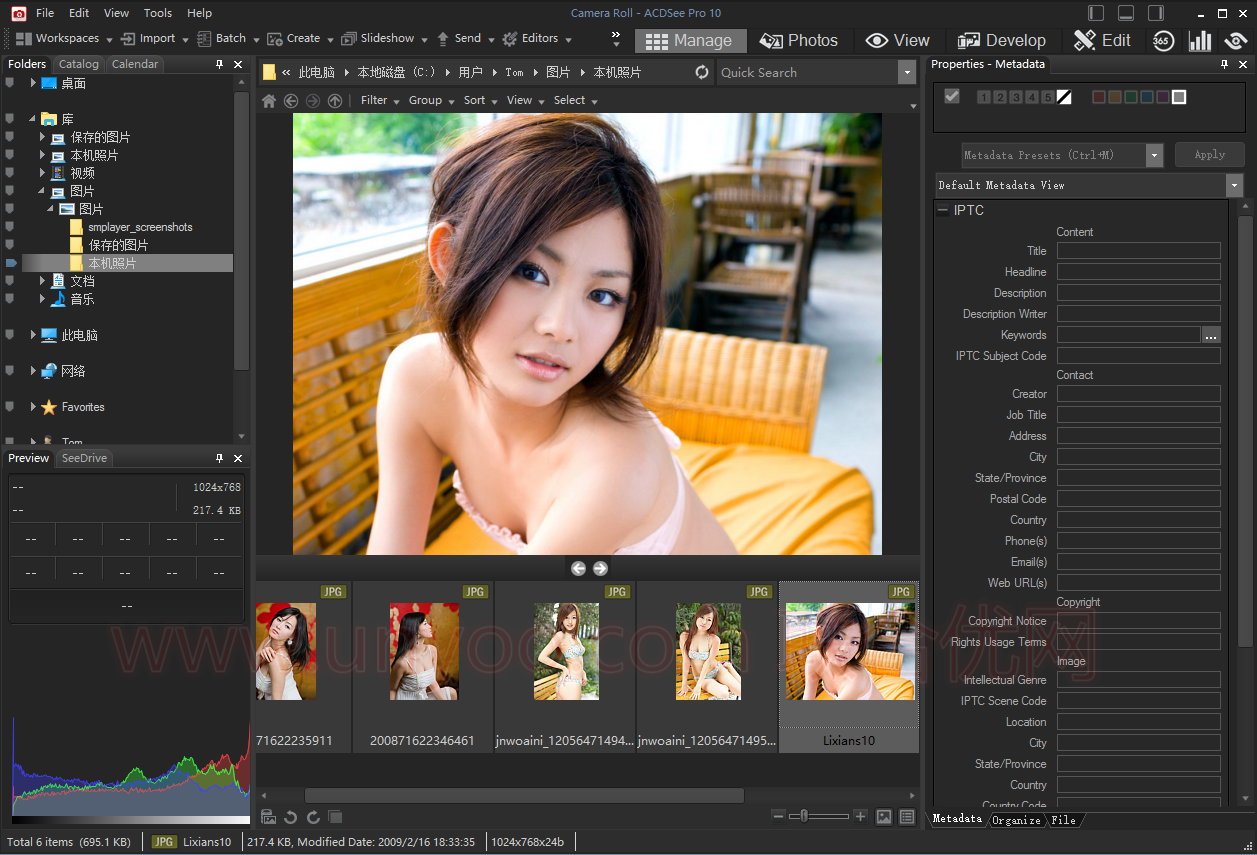
在视图模式中,您可以在一个时间内播放媒体文件和显示图像。你也可以打开窗格查看图像的特性,在不同的放大倍率显示图像区域,或检查详细的颜色信息。你可以选择一个图像,点击查看模式选项卡中打开视图模式,您可以使用视图模式幻灯片迅速浏览一个文件夹中所有的文件。查看模式包含一个工具栏,其中常用的命令的快捷方式,以及窗口底部的状态栏,它显示当前图像或媒体文件的信息。
开发模式
在开发模式中执行大部分的图像调整以应用到整个图像。然后把你的图像编辑到编辑,选择和修复图像的特定部分。使用开发模式的非破坏性的编辑工具来调整图像的曝光,白平衡,颜色配置文件,以及锐化,减少噪音和更多。开发模式是一种非破坏性的、参数化的编辑、原始的转换环境。参数编辑意味着当你在开发模式中编辑图像时,你正在创建调整的说明,而不是调整你在编辑模式下的实际像素。开发模式的非破坏性的操作是完全相互交织的,相互依存的,并应用在一个固定的顺序,以最大限度地提高图像质量。当在原始文件上工作时,调整应用尽可能多的原始图像数据。
编辑模式
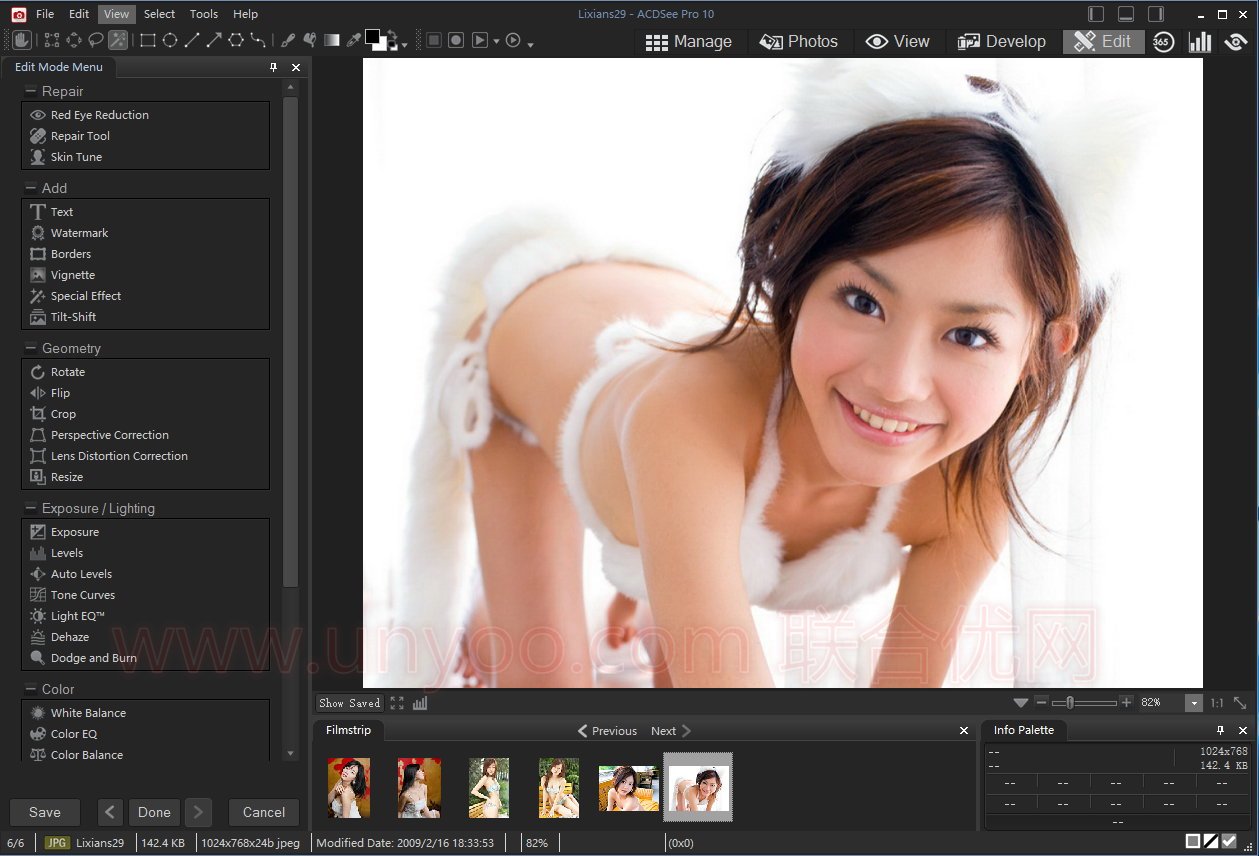
在将整个图像应用于开发模式后,使用“编辑模式”来微调您的图像,使用基于像素的编辑工具,如红眼睛去除。让您的佳作更完美,利用简单易用的编辑工具,打造出令人惊艳的专业效果。原始图片始终妥善保存,因此您随时都可以重新开始。。
365模式
365模式提供上传图片365.acdsee.com分享给您的联系人或公众的一种简单方法。在365模式中,你可以在你的电脑上选择图片然后拖放它们直接进入365.acdsee.com。
仪表板模式
仪表板模式可以让你快速访问和浏览文件,相机,基于你的ACDSee数据库和EXIF信息数据库统计。由于仪表板模式依赖于来自您的数据库的信息,它是重要的目录,以获得最精确数据。
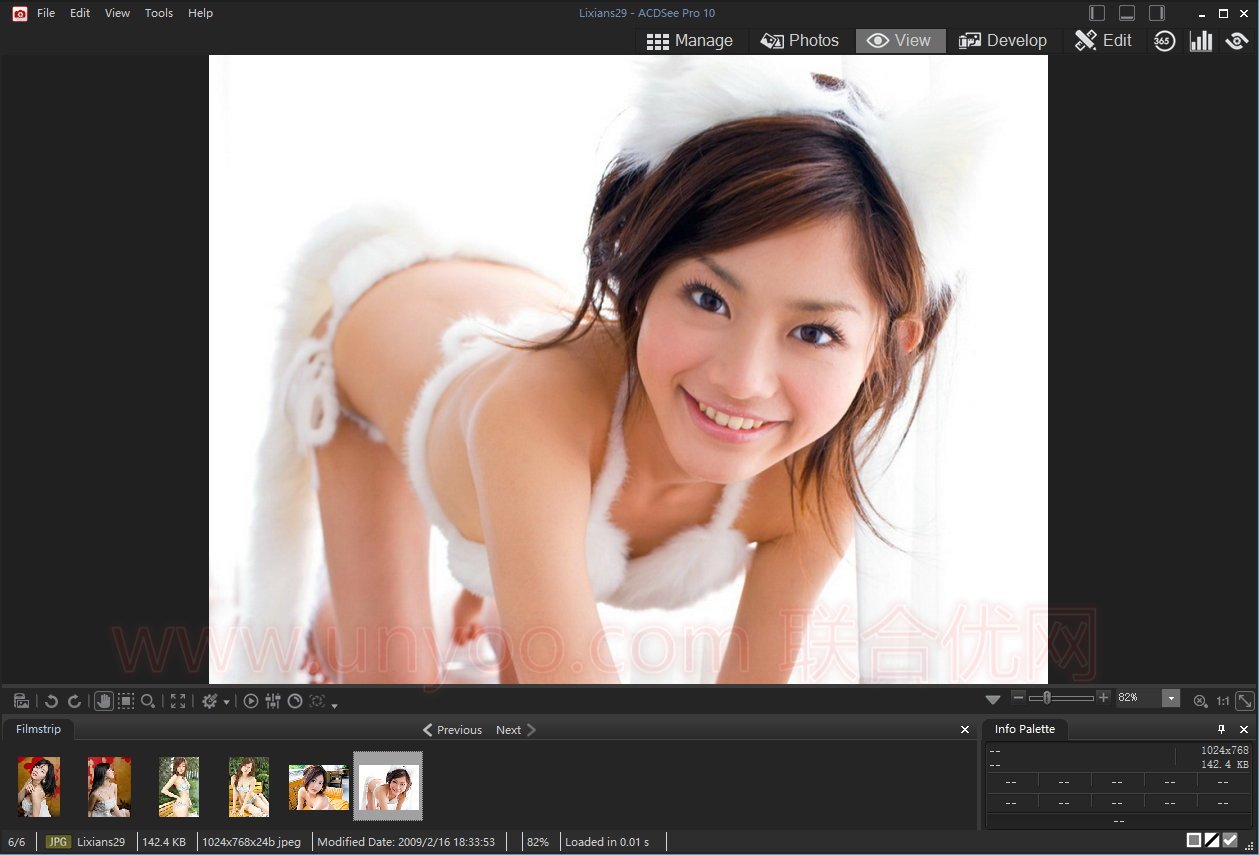
The ACDSee user interface provides easy access to the various tools and features you can use to browse, view, edit, and manage your photos and media files. ACDSee consists of seven modes: Manage mode, Photos mode, View mode, Develop mode, Edit mode, 365 mode, and Dashboard mode.
Manage Mode
Manage mode is the main browsing and managing component of the user interface, and is what you see when you start ACDSee Ultimate using the shortcut icon on your desktop. In Manage mode, you can find, move, preview, and sort your files, and access organization and sharing tools.
Manage mode consists of 15 panes, most of which can be closed when not in use. The File List pane is always visible, and displays the contents of the current folder, the results of your latest search, or the files in your database that match your filtering criteria. A status bar at the bottom of the Manage mode window displays information about the currently selected file, folder, or category.
You can open and close panes, move them to different areas of your screen, and stack them on other panes or dock them to the edge of the window. Most panes also have additional options you can set to further customize their behavior and appearance.
Manage mode also features a toolbar and a set of drop-down menus. The toolbar provides buttons for your home folder, and for navigating forwards and backwards through your folders. The drop-down menus provide quick access to the most common tasks.
Photos Mode
Photos mode can be used to view your entire image collection by date. You can view them by year, month, or day. If you have Microsoft OneDrive you can toggle viewing your OneDrive image collection along with the image collection on your hard drive, or just your hard drive collection on its own. Photos mode only displays images that have been cataloged. Images in Photos mode are displayed by the date they were taken, as indicated in the images’ EXIF data.
Photos mode consists of two panes, the Date pane and Timeline pane. The Date pane displays all of your cataloged photo collection by date. The Timeline pane displays the year and month of your photos and how many photos are in each. You can also select individual images to launch them in other modes.
View Mode
In View mode you can play media files and display images in full resolution, one at a time. You can also open panes to view image properties, display areas of an image at varying magnifications, or examine detailed color information.
You can open View mode by selecting an image and clicking on the View mode tab, and you can use the Filmstrip in View mode to flip quickly between all of the files in a folder. View mode contains a toolbar with shortcuts to commonly-used commands, and a status bar at the bottom of the window, which displays information about the current image or media file.
Develop Mode
Perform most of your image adjustment in Develop to apply changes to the entire image. Then take your image into Edit to select and fix specific parts of the image. Use Develop mode’s non-destructive editing tools to adjust an image’s exposure, white balance, color profile, as well as sharpen, reduce noise and much more.
Develop mode is a non-destructive, parametric editing, RAW conversion environment. Parametric editing means that when you edit an image in Develop mode you are creating instructions for adjustments, rather than adjusting the actual pixels as you do in Edit mode. Develop mode’s non-destructive operations are entirely interwoven and interdependent and are applied in a fixed order to maximize the image quality. When working on RAW files, adjustments are applied as much as possible using the RAW image data.
Edit Mode
After applying changes to the entire image in Develop mode, use Edit mode to fine tune your image using pixel-based editing tools such as red eye removal.
Edit mode works on the image data already rendered to RGB. Edits are independently applied to the converted RGB data in the order that you do them. This chain editing gives you full control over the pixels, allowing creative freedom to apply precise adjustments. This makes operations such as selections and blend modes possible.
365 Mode
365 mode provides an easy way to upload images to 365.acdsee.com to share with your contacts or the public. In 365 mode, you can select the images on your computer and then drag and drop them directly into 365.acdsee.com.
Dashboard Mode
Dashboard mode allows you to quickly access and browse file, camera, and database statistics based on your ACDSee database and EXIF information. As Dashboard mode relies on information derived from your database, it is important to catalog in order to get the most out of it.
ACDSee Photo Studio Pro 10.3 Release Notes
New Features
- Added RAW support for the following camera models:
- Canon EOS M5
- Fujifilm X-E2S
- Fujifilm X70
- Olympus PEN E-PL8
- Olympus E-PL6
- Olympus E-M1 Mark II
- Panasonic LUMIX DMC-FZ2500 (DMC-FZ2000, DMC-FZH1)
- Panasonic DMC-LX9 (DMC-LX10, DMC-LX15)
- Pentax K-70
- Pentax K-3 II
- Pentax K-1
- Sony A6500
- Sony Alpha a99 ii
- Sony RX100 Mark V
- Updated lens correction profiles.
- Added Affinity file format thumbnail support.
Bug Fixes
- Fixed issue with Polygon tool leaving artifacts after undo.
- Fixed a reset default option in Tools | Options.
- Fixed a crash when deleting inside of a zip file.
- Fixed a crash in Photos Mode related to deleting an orphan file.
- Fixed Windows taskbar appearing in a full screen video.
- Fixed preview in Font drop-down menu in the Text tool.
- Fixed issues with smart brushes displaying incorrectly in View and Edit mode.
- Fixed a flickering issue occurring when moving between Manage and View mode.
- Fixed an issue with GIF animation in View mode.
- Fixed a problem with Develop mode lens profiles failing to trigger Save dialog.
- Fixed a crash related to setting up a new action folder.
Known Issues
- Content of iPhone and other WIA devices does not display correctly when browsed directly with ACDSee.
- In some cases, on Windows 7 and 8, when a camera is connected to a computer via a USB cable, the Import tool may fail to display media files and will not copy them. In these cases, we recommend copying items from these devices to your computer with Windows Explorer or import the media through a card reader.
- Text/Watermark shows incorrect preview in a certain scenario.
- It is recommended that you restart ACDSee after importing a Lightroom database.
Supported
- ACDSee Actions created in Pro 9 and Ultimate 9 are supported in ACDSee Pro 10 and Ultimate 10.
- ACDSee Actions created in Pro 10 and Ultimate 10 are backwards compatible with Pro 9 and Ultimate 9.
Not Supported
- ACDSee does not preserve the transparency in GIF and PNG files
- ACDSee does not preserve layers when editing PSD and TIFF files
More Information
For information about ACDSee Pro 10 and to access additional resources, please visit the Product Support and Resource page online. Additional information and resources include:
- Software updates
- Supported file formats
- Supported camera RAW formats
- Community site, including peer-to-peer product forums
- ACDSee Knowledge Base Articles
- Tutorials
ACDSee Ultimate 10 详细安装与注册机(KeyGen)离线激活图文教程
汉化补丁说明: 由 Merron 独立汉化提供
这个说明是针对 D3DBaseSlideShow.exe 而写的:D3DBaseSlideShow.exe 原本是 ACDSee 中提供幻灯片放映功能的程序,但不知道什么原因,ACDSee Ultimate 10.1
由于 2016.12.23 仅发布了 ACDSee Ultimate 的最新版,而仅在最新版中 D3DBaseSlideShow.exe 表现正常,故 Merron
更新信息:
- 更新适配 ACDSee Pro 10.2.0.659 x64/x86;
- 再次修复界面;
- 恢复了 D3DBaseSlideShow.exe 文件的汉化,中文版的幻灯片放映功能回来了。
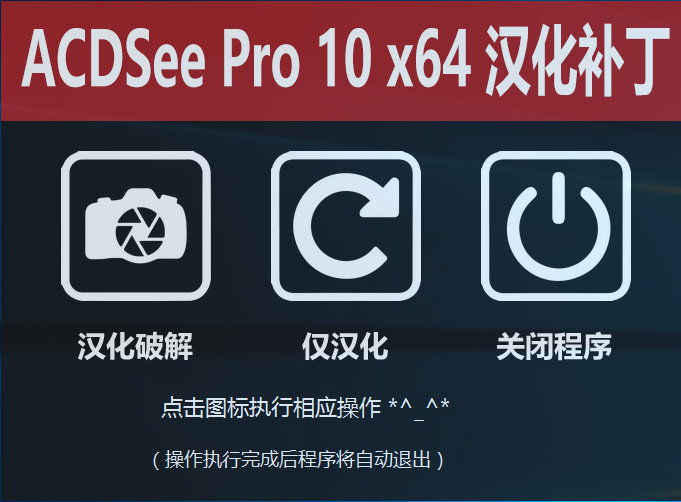
【注意事项】
1.本补丁需要 .net framework 4.5 才能运行,不要问为什么这么恶心,因为缺少了这个你的 ACDSee 功能也会不完整,所以没有的请自行脑补。win 8/10用户请自行忽略本条;
2.安装汉化补丁前请关闭杀软,谢谢;
3.汉化补丁安装完成后会自动退出,因此在安装补丁时请确保汉化补丁退出后再查看汉化效果,否则视为汉化不完全,因此造成的后果请自行承担
.net framework 4.5下载地址:因百度云分享失败只提供城通网盘或者自行去微软网站下载
http://sun0816.ctfile.com/fs/Huo157759626
1、如果ACDSee Pro 10汉化后打开出现以下对话框,请按下面的方法处理:
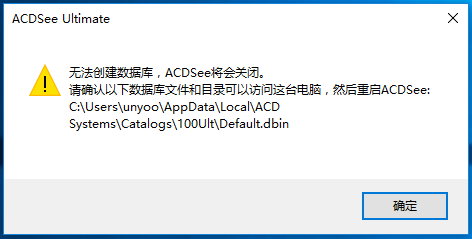
2、请打开以下目录并删除里面所有文件:(注意: 用户名更换为你电脑登陆的用户名)
C:\Users\用户名\AppData\Local\ACD Systems
3、再次打开软件即可正常。
软件最新版官网下载地址:(使用下面压缩包中的注册机注册和汉化补丁即可)
x86版:http://dl.acdsystems.com.s3.amazonaws.com/acdsee/en/acdsee-pro-10-4-0-686-win-x86-en.exe
x64版:http://dl.acdsystems.com.s3.amazonaws.com/acdsee/en/acdsee-pro-10-4-0-686-win-x64-en.exe
软件下载地址:
Download 城通网盘:ACDSee Pro 10.4 Build 686 x86中文注册版附注册机/汉化补丁
Download 城通网盘:ACDSee Pro 10.4 Build 686 x64中文注册版附注册机/汉化补丁
Download YunFile云盘:ACDSee Pro 10.3 Build 675 x86中文注册版附注册机/汉化补丁
Download YunFile云盘:ACDSee Pro 10.3 Build 675 x64中文注册版附注册机/汉化补丁
Download YunFile云盘:ACDSee Pro 10.2 Build 659 x86中文注册版附注册机/汉化补丁
Download YunFile云盘:ACDSee Pro 10.2 Build 659 x64中文注册版附注册机/汉化补丁
Download YunFile云盘:ACDSee Pro 10.1 Build 653 x86中文注册版附注册机/汉化补丁
Download YunFile云盘:ACDSee Pro 10.1 Build 653 x64中文注册版附注册机/汉化补丁
Download 城通网盘:ACDSee Pro 10.3 Build 675 x86中文注册版附注册机/汉化补丁
Download 城通网盘:ACDSee Pro 10.3 Build 675 x64中文注册版附注册机/汉化补丁
Download 城通网盘:ACDSee Pro 10.2 Build 659 x86中文注册版附注册机/汉化补丁
Download 城通网盘:ACDSee Pro 10.2 Build 659 x64中文注册版附注册机/汉化补丁
Download 城通网盘:ACDSee Pro 10.1 Build 653 x86中文注册版附注册机/汉化补丁
Download 城通网盘:ACDSee Pro 10.1 Build 653 x64中文注册版附注册机/汉化补丁
Download 百度网盘:
[erphpdown]ACDSee Pro 10.4 Build 686 x86中文注册版附注册机/汉化补丁 密码:8bdm
ACDSee Pro 10.4 Build 686 x64中文注册版附注册机/汉化补丁 密码:ep58
ACDSee Pro 10.3 Build 675 x86中文注册版附注册机/汉化补丁 密码:m6bx
ACDSee Pro 10.3 Build 675 x64中文注册版附注册机/汉化补丁 密码:4ysj
ACDSee Pro 10.2 Build 659 x86中文注册版附注册机/汉化补丁 密码:0siy
ACDSee Pro 10.2 Build 659 x64中文注册版附注册机/汉化补丁 密码:5elu
ACDSee Pro 10.1 Build 653 x86中文注册版附注册机/汉化补丁 密码:ks31
ACDSee Pro 10.1 Build 653 x64中文注册版附注册机/汉化补丁 密码:l8m7[/erphpdown]
解压密码:www.unyoo.com
 联合优网
联合优网